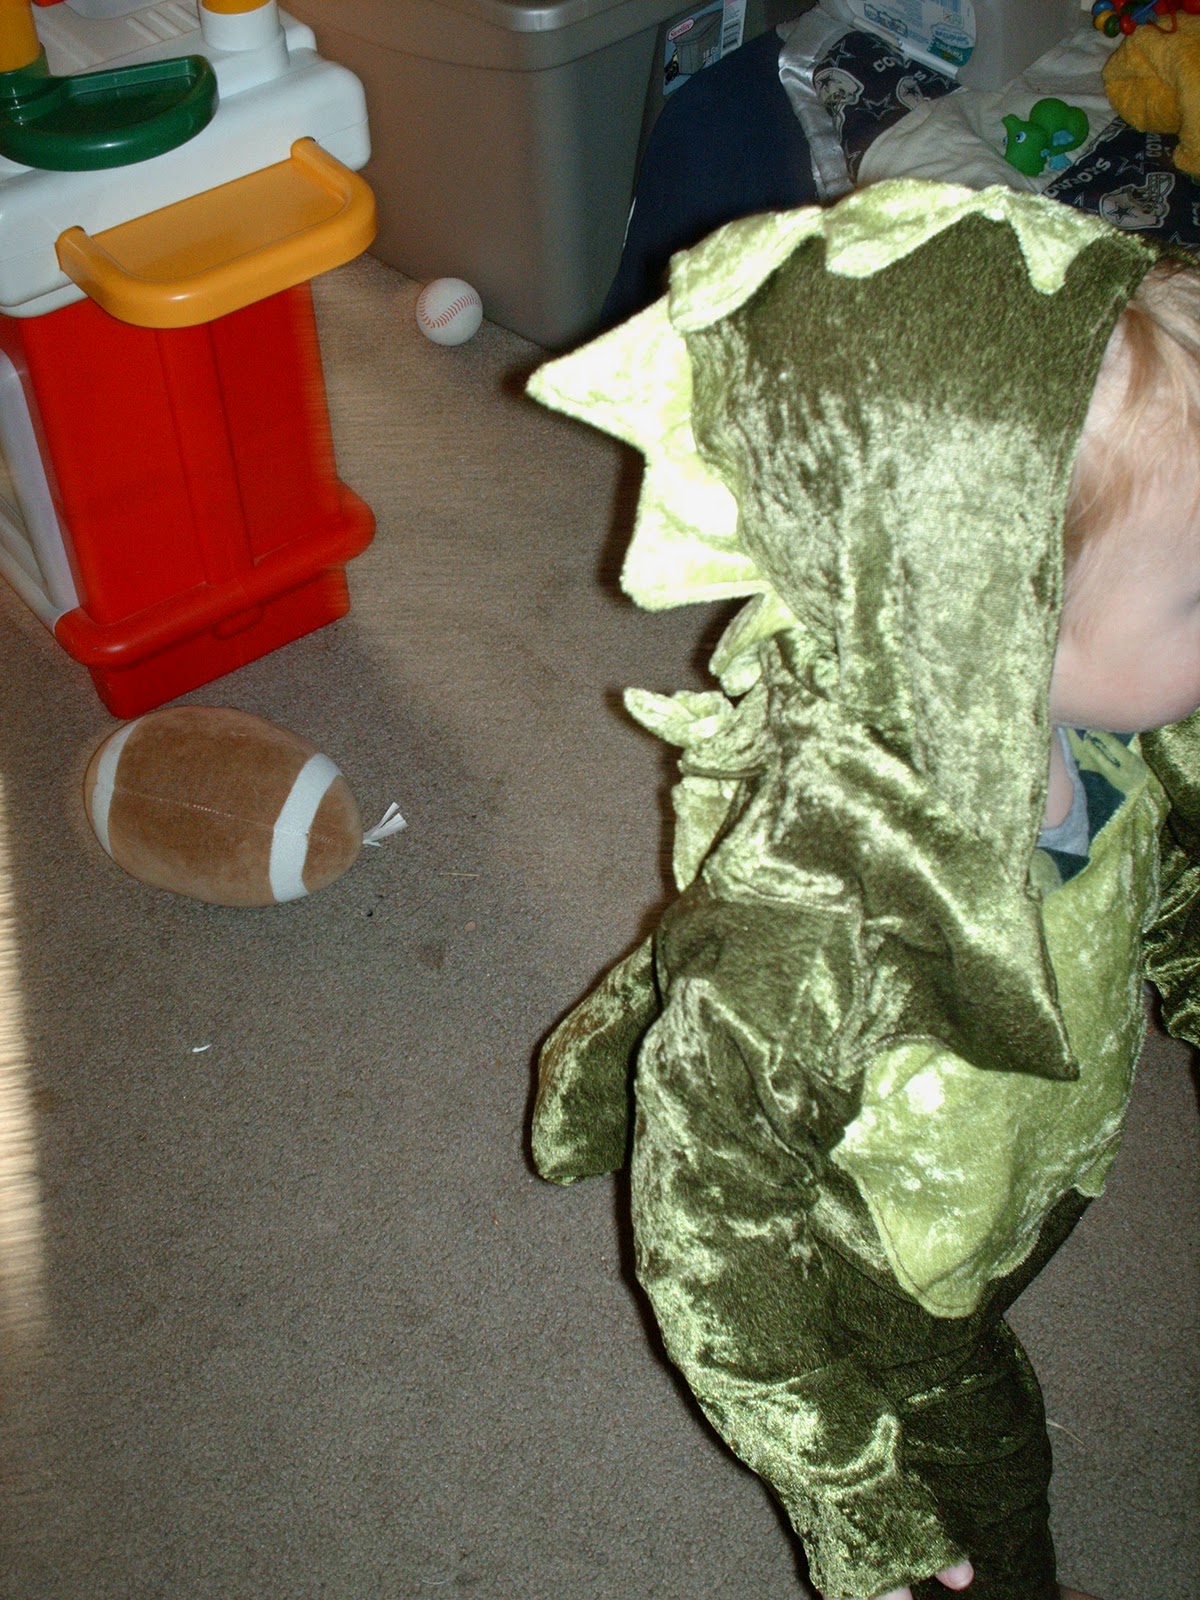
Cute, right! And it cost me less than $10 and 3 hours to make. You can do it too! I know what you're saying. "J, you're awesome. I could never be as great as you!" Oh, you weren't saying that? Well, was it more like this? "J, I don't have a pattern or the time." Well, you don't need a pattern. I didn't have one. I made one, and you will too! And yours will be ten times better because you're going to learn from my mistakes and use my tips. And it doesn't have to be a dinosaur costume. We can turn this into a mouse, elephant, whatever. Just use your imagination!
What you'll need:
- wrapping paper (for drawing out a pattern
- sewing machine (sure, you could hand sew this, but let's face reality, here. If you have a kid young enough to wear a dinosaur costume, you don't have time to hand sew. You barely have time to machine sew.)
- marker
- scissors
- measuring tape (or you could guess-timate like I often do. Trust me, you'll want the measuring tape)
- fabric (I used 1 3/4 yds for the dark green and 1/2 yd of the light green. The model is a 2T clothing size) (I used crushed panne for the fabric because it is $2.99/yd at JoAnn's right now. RUN! The colors are limited because the price is so cheap. You could also order online, but again, hurry)
- batting (or cotton balls, old socks, whatever)
- velcro (you could also do a zipper, but I hate adding zippers!)
- thread
- straight pins
- patience (this one is important!)
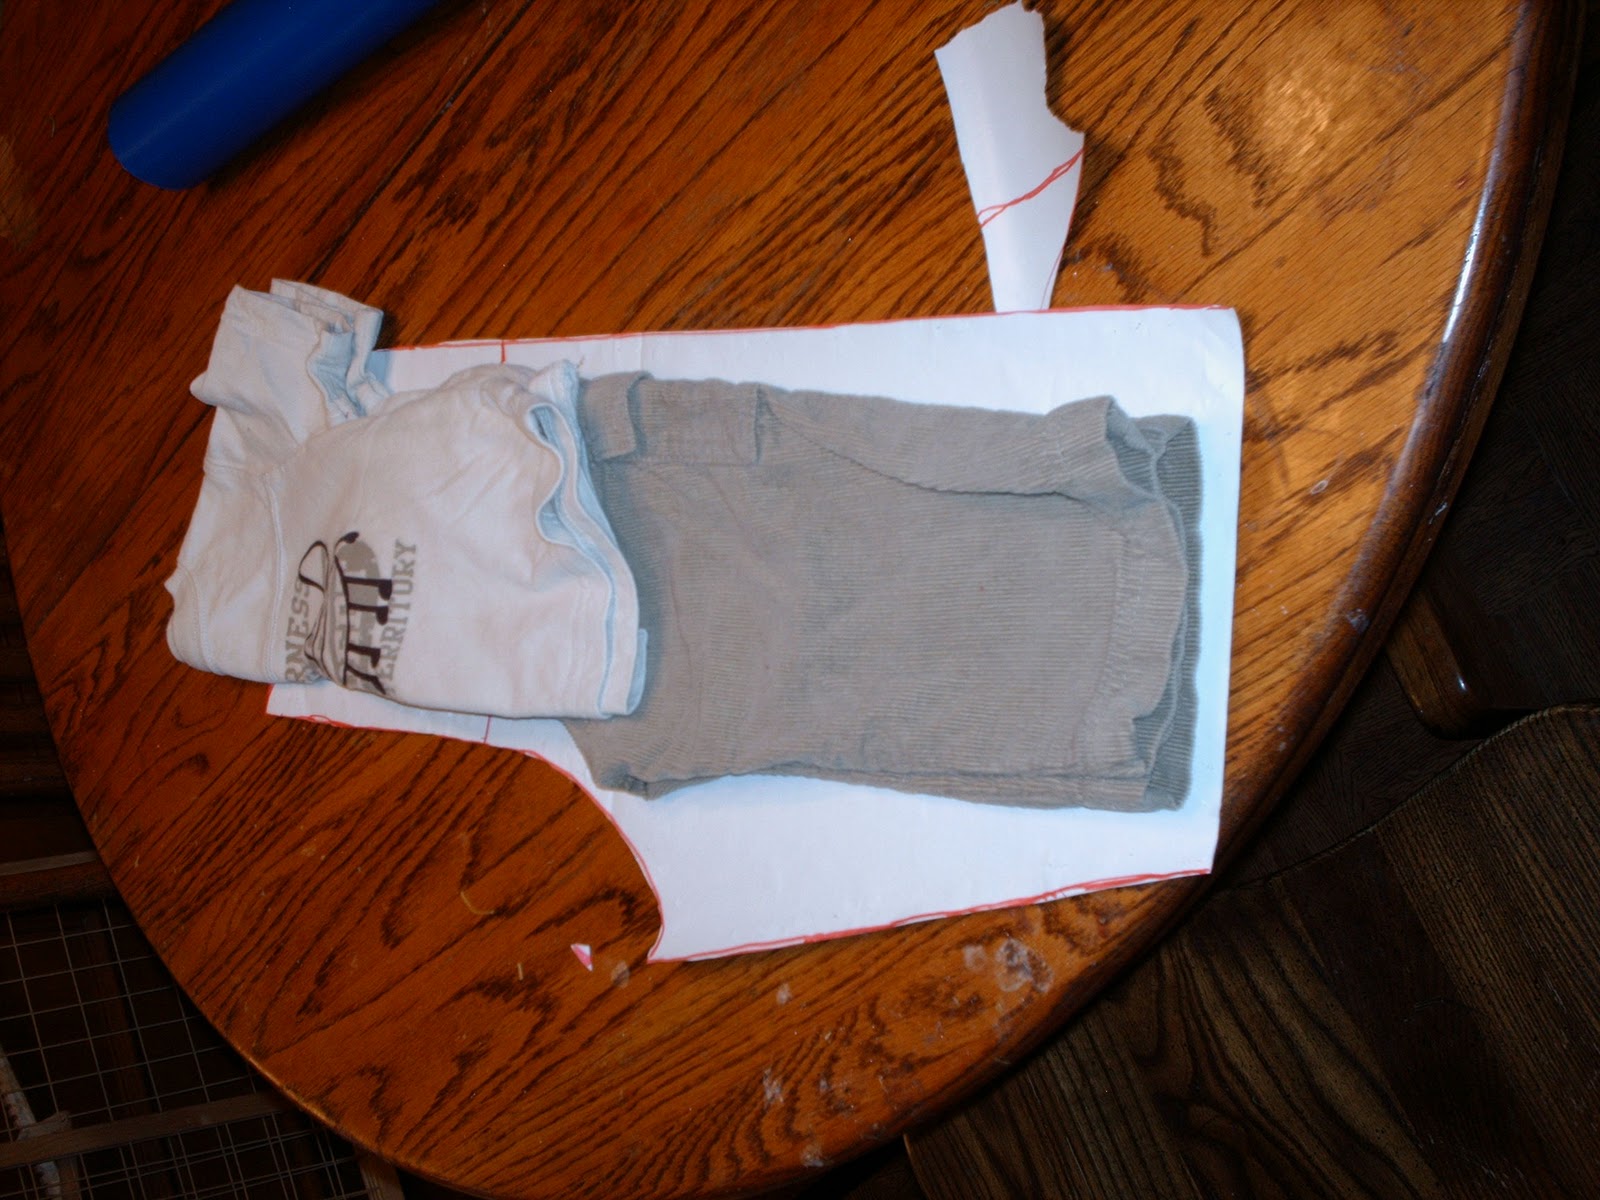
First things first, let's make a pattern! Grab a pair of your kid's pants. Fold them in half like this, and trace about an inch and a half around them.
Don't do it at the top of your paper like displayed though. I realized too late that I didn't take pictures of the pattern making process, so I went back and took these pictures later. You will want to have enough room at the top to make the body. After you have traced around the pants, mark a line where your child's hips would be. Then, lay a shirt over top, and trace around that.
When you're done, it should look like this.
When you cut this, you will lay the straight side on the fold of the fabric. You will have to do it twice, so that you have two pieces that are folded in half.
I made the body of mine too short. I highly recommend measuring your child from sternum to waist to make sure that your pattern is long enough.
Next is the sleeves. To do this, you'll want to lay the sleeve of your shirt on the wrapping paper like this, and trace from the top to the point just before it starts to curl to the under arm. I drew arrows to make up for my poor written instructions.
Then, fold out the underarm, and trace around that like this.
You don't need to do both sides, because you're just going to fold it in half to cut it out. This way it will be even and less work is involved! Then, figure out how long you need to make it by measuring the length of your child's arm from the top of their shoulder all the way down to the wrist. Fold and cut, and you should have something like this.
Cut two of these on the main color of fabric.
I'm ashamed to say how long it took me to figure out a pattern for the hat. Grab a hoodie (if you live down south like me, you don't have a current one, and will have to add a few inches. If you live up north, you busted out the hoodies 6 weeks ago) and trace. Simple, right. Again, took FOREVER to come up with that!
Cut two of these on the main color of fabric.
The spikes are free-handed. I knew I would need some to go around the hood, so I did them all based on that measurement alone. The hood is 14" across the base, so I made the length of the spikes 21" to make it possible to close under the chin. Since it was 21", I made each individual spike 3". Do what you want here.
You're going to need a set like this in both colors, one for the hood (main color) and one for the tail (contrast color). You will also need two more smaller sets in the contrast color for the hood, and the back along the closure. I needed two spikes for the back and five for the hood. So, I just cut out one more of these, and then cut it five and two. Be sure that you are cutting two for each one that you need. So, with the fabric folded in half, if you cut one pattern, you'll have two spikes, but only count it as one. Do you know what I mean?
The chest is also free-handed. I laid the body pattern on some wrapping paper to make sure I got the neck and center line identical, and then free-handed the curve that wraps from the bootom of the center line back up to the neck. It should look something like this.
You can see from all of the additional lines how many times it took me to get it "right". Put the center line on the fold of your contrast fabric when you cut this.
The tail is also free-handed. I didn't even make a pattern for this. I started cutting under the fabric cut out of the spikes in the main color. I went just a little longer than the spikes, and then came back up. I made sure to have it curve along the top, and to have enough space to stuff some batting inside.
This is what it looked like after I sewed it up, because I didn't think to take pictures of it before that. You will cut two pieces on the main color of fabric.
Now that all of your pieces are designed, and cut out, we'll begin construction.
First, sew the shoulders shut.
And then the leg seams.
Do this on both body pieces, and make sure that the right sides of the fabric are folded together.
Next, turn the pieces right side out. Begin pinning from the crotch area up to the neck line, but only on one side. On the other side of the crotch, you will only go up 2-3". Leave the rest open for adding the tail and velcro for closing.
My camera sucks, but the picture on the top is one side pinned all the way to the top. The picture directly above this shows three pins to the right of the crotch line on the other side. Now sew along the pins.
Next, we'll add the sleeves. The costume should still be right side out. I cut a small line just under the armpit area to make it easier to close the sleeves later, and to give me a starting point for pinning.
Lay the sleeves right side against the right side of the body. I like to start pinning from the "v" (yes, you cut a straight line, but now it's a v. It's magic!) on both sides and work my way up to the shoulder, the whole time crossing my fingers that I cut the fabric right. I did not, so I was able to pinch a little bit up at the top to make it even.
Now, sew along the sleeve making sure not to catch any additional fabric. Do this on both sides.
Next, turn the costume inside out again. Pin the sleeves and the closing of the little v together and sew.
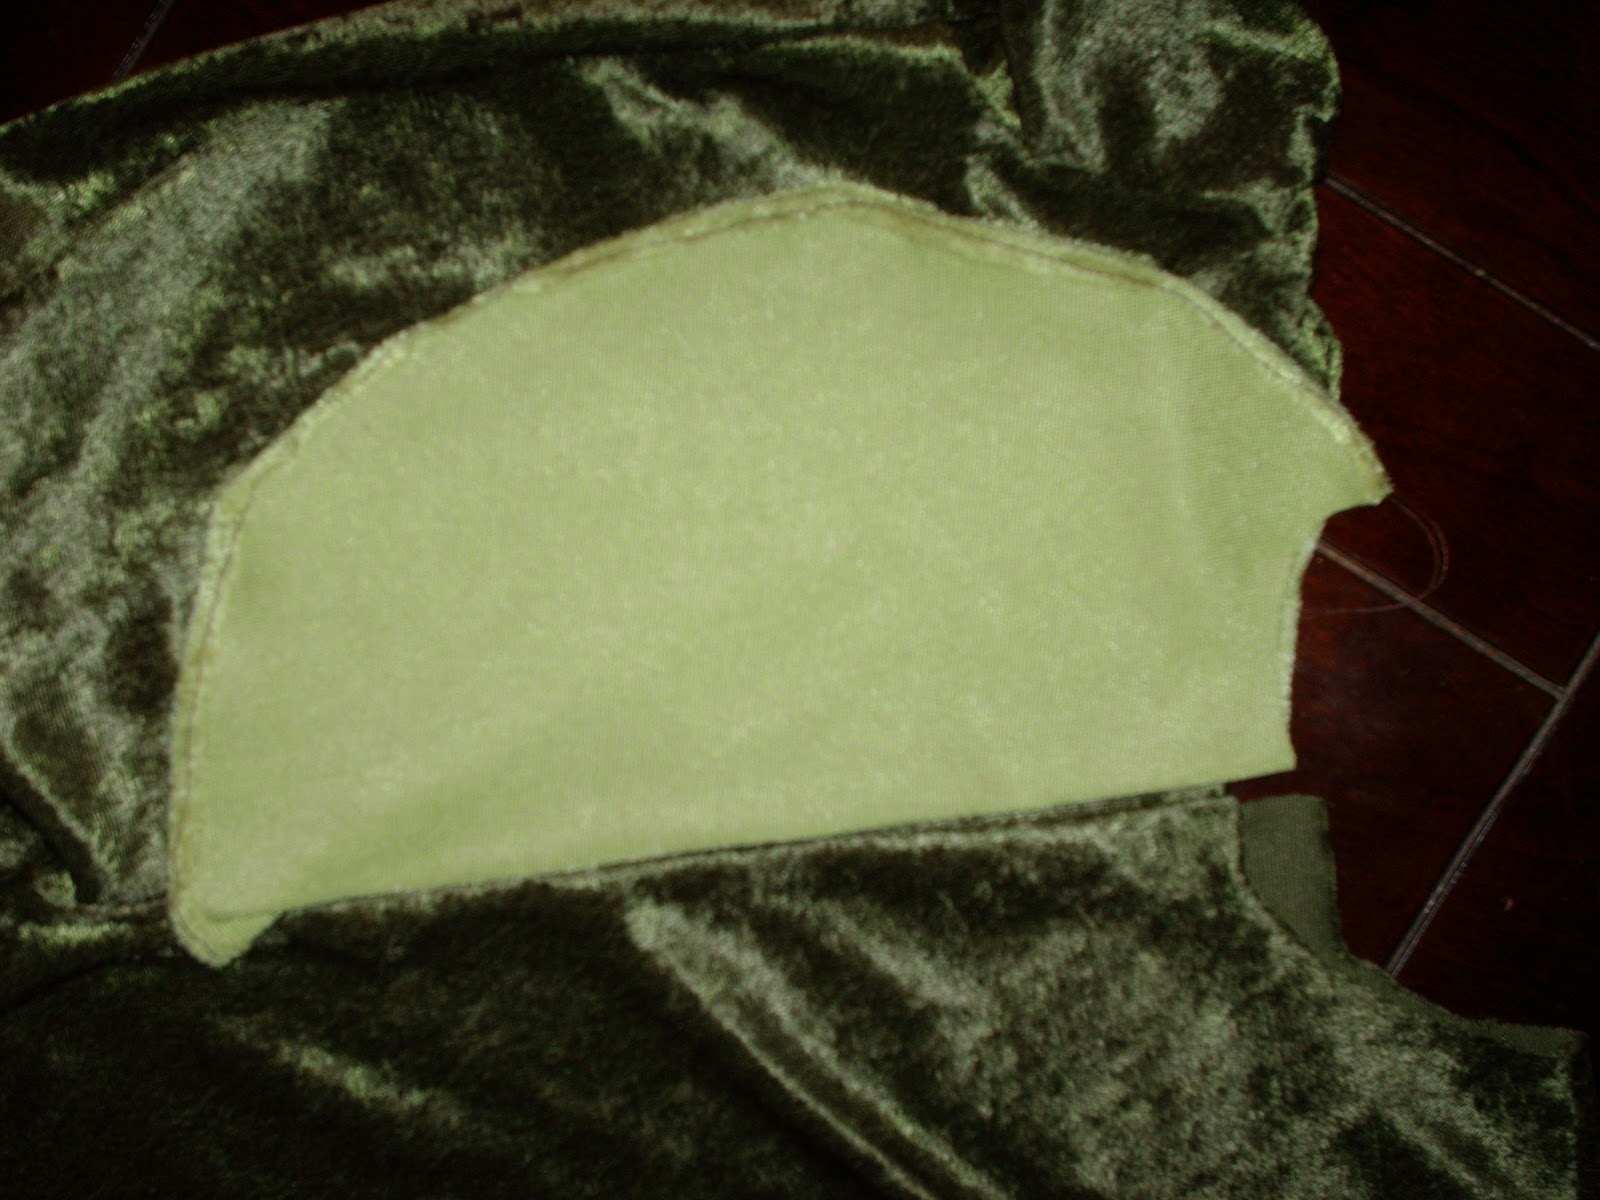
Now we'll add the chest plate. Lay the center line against the center line of the front of the costume. Make sure you have the top about a half inch above the top of the costume, because we're going to stuff some batting into the chest to give the body a little more body.
Now pin it and sew it on. Be careful not to catch the back of your costume in the sewing. I do this often, so just go slow. When you finished that, stuff some batting in there, fold the top over the neckline over the body of the costume, and sew it shut. I do not have a picture of this, but I think (Oh man, I really, really hope) my words explained what I mean.
Now your costume is really coming together. We'll stop with the body for a little while, and get to work on the spikes.
With the right sides of your spikes together, begin sewing around the spikes, leaving the straight line at the base open to flip them right side out. The only one where this is an exception is the set of spikes in the main color. You will want to sew along the straight line as well, but leave an opening of about 6 or 7" in the center of the straight line open for flipping right side out.
Your spikes look like this, all puckered and weird, and you're thinking, "Crap, what did I do wrong! I followed this crazy lady's instructions and now I have this!" Don't fret. Next we'll top stitch, or stitch along the outside, and straighten out those spikes.
Better? Great! One thing I didn't do, but you may want to, is stuff the spikes with some batting. It would help them stand up straight. Our spikes lay down :( . We have lame, lazy spikes. So, do that with all of your spike sets. The sewing around the spikes is probably the most tedious work in the whole costume, but they're so cute, right? Right? Well, too bad, you gotta do it anyway! Unless of course you decided to make this into a mouse, elephant, lion, alien costume, in which case YOU'RE A CHEATER!!!
Now, take your set of spikes that only have five spikes and begin pinning it to your hood piece. To do this, lay your spikes with the tips facing inward on the right side of one of the hood pieces, and begin pinning it from about half an inch from the forehead, down to the base of the neck. Chances are, you have an additional spike. That's okay. For now, just pin it at an angle that you won't catch it when you're sewing the hood together. Now that the spikes are pinned on to one side of the hood, lay the other hood piece on, right sides together, and pin it all together. Sew it from about a half inch from the forehead all the way down to the base of the neck. And of course I didn't think to take a picture of this during the construction, so these are all post-sewing pictures.


Flip your little hood right side out. Now we're going to use the set of spikes that were cut in the main color. Begin pinning it with the points pointing up to the base of the hood. You'll have about three (or more or less depending on how big your kid is) extra inches on both sides of the hood. This will be the closure that velcros under the chin. Now just sew it up. Again, this is a post sewing picture.
Okay, now we just need to add some thin strips of velcro to each side (one on the outside, one on the inside) and the hood is complete!
Now on to the tail! With right sides together, sew along the bottom (whatever side you have deemed the bottom) side of your tail. Open up your tail, and begin pinning your longest set of spikes to the top, with the points pointing down to the seam you just created by sewing up the bottom. You may want to fold and pin up the spikes towards the point of the tail so they don't get caught up in the sewing you're about to do. Now pin the top of the other side of tail to all of that, and sew.
You can trim off all of that additional contrast fabric from the spikes. Then flip your tail right side out and stuff it with some batting. Now we're going to pin it to the bottom of the backside opening on your costume. We're only going to sew it to one side. So pick which side you want it on, it really doesn't matter, pin it on, and sew.
Now take your last set of spikes, pin it to the back side of the costume on the same side as the tail, and sew.
Almost done. Now just put some velcro along the tail and spikes from neckline all the way down to the base and sew.
Do the same on the other side.
You're done! Sure, you could hem up the cuffs of the sleeves, and legs, but haven't we already done enough!
Now you have this!
Yay! I can't wait to see how your costumes came out!


